All Channels
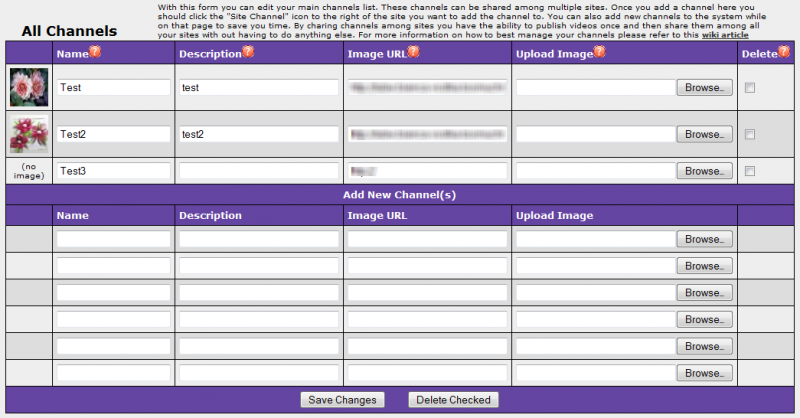
This is what your All Channels page should look like with one or more channels added. 
- This page shows all the channels for all your sites.
- On this page you can delete, add, and make changes to channels.
- To delete channels, you need to check the Delete check box in the right most column, then click "Delete Checked" at the bottom of the table.
- To add channel(s), just fill out the Name, Description, either Image URL or Upload Image to as many channels you want to add, then click Save Changes at the bottom of the table.
- Image URL column is for images on the internet.
- Upload Image column is for uploading image from your computer.
Site Channels
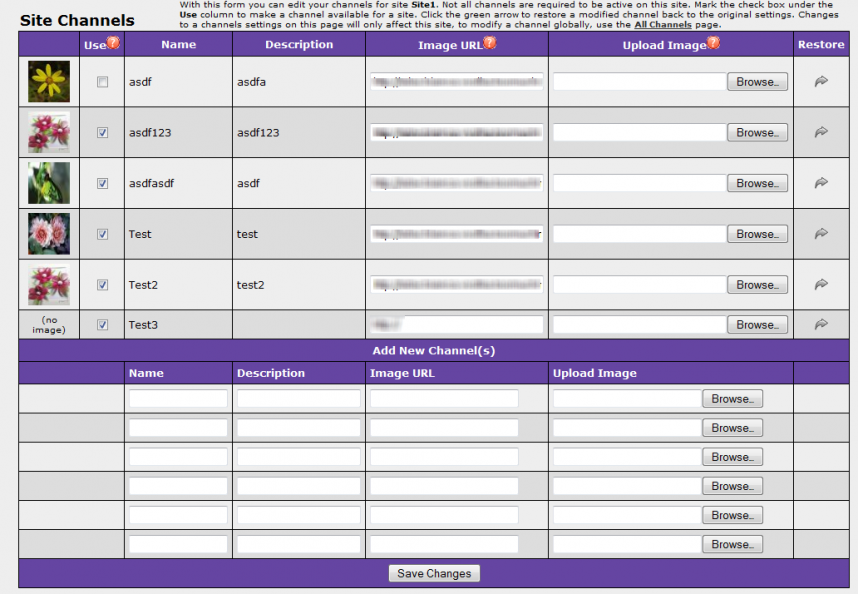
This is what your Site Channels page should look like with one or more channels added.

- The delete column is replaced with the restore button on this page. In addition the use column is added.
- Use column
- If the channel was added under Site Channel, then the Use column will be checked after saving changes. All channels will show up under the Site Channel page. If it is not checked it is not being used on this site. If you want to use a certain channel that was added under another site, click on the check box under the Use column to activate it for the site you want to add it.
- Restore column
- The picture that you added while adding the channel is the default picture. To change the default picture of a channel, change it in All Channels not site's channels. If the site's channels' pictures were customized, it will not get changed.
- To customize a channel's picture, just fill out either the Image URL or Upload Image column and click on Save Changes at the bottom of the table. Once you click Save Changes, the Restore column's arrow will turn green. If you want to change it back to the default picture, then click on the green arrow.

