This page will help you get started with your TubeStudio installation. TubeStudio can completely manage the videos on your tube site. To get started the first thing you will want to do is add a new site.
To add a new site:
•Click on the sites admin icon in the upper left corner
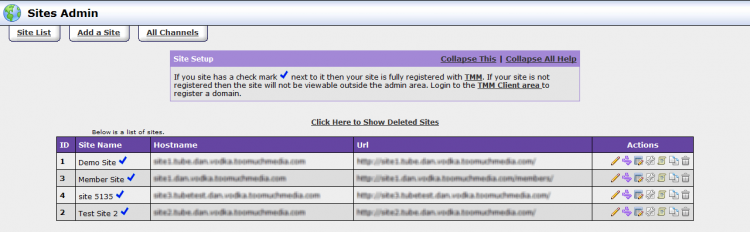
This will bring you to the sites admin. The sites admin lets you add all of your sites where you want to publish videos. The main screen of the sites admin shows you all of your sites currently in TubeStudio. To see more details on this admin please see the Managing Sites article.
•Click on Add a site tab at the top of the sites admin
This will bring you to the Add a Site form:
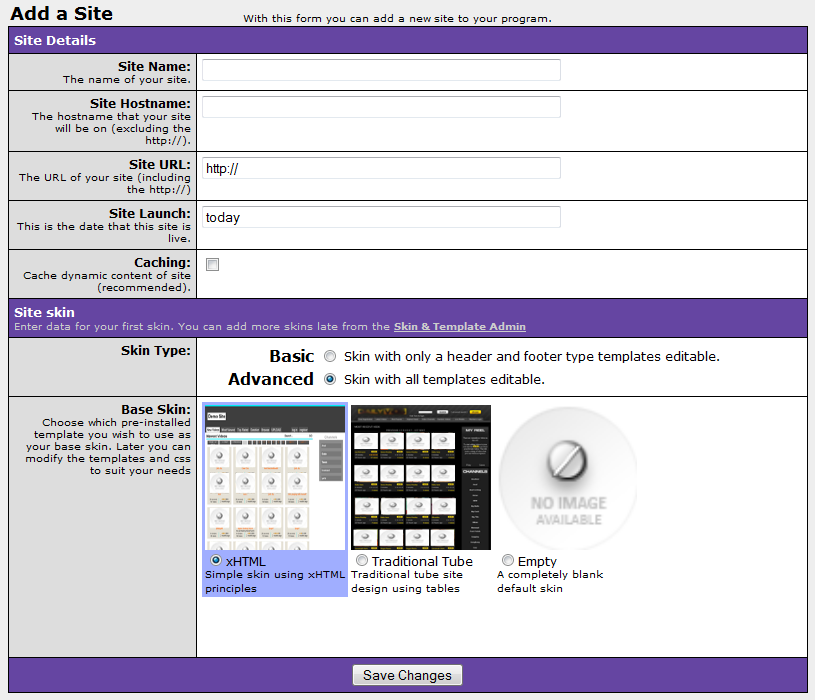
This form lets you enter all relevant information about the site such as Site Name, Hostname, and URL. Additionally, it lets you choose a default skin for your site and choose whether you want to use basic or advanced skins. Fill out the form as follows:
1. Enter the name you would like for the site.
2. Enter the hostname for your site. This is the hostname for your tube site.
3. Enter the URL for your site (The same as your host name plus the http://).
4. Enter the date that you would like the site to go live.
5. Selecting page caching is recommended. This results in faster load times.
6. Choose either to use basic skins or advanced skins.
- a. Basic skins let you edit the header and footer of the page.
- b. Advanced skins let you edit the entire page.
7. Choose the base skin that you want to start with.
8. Click save changes
You have now added a site to your TubeStudio! It will now show up in the list of sites in the Sites Admin. Now that you have a site you will need to add channels. Channels are a way to categorize your videos. You can add a video without adding it to a channel but it will not show up on your site. This is done by selecting the edit site’s channels action from the list of actions.
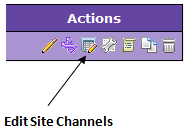
Once you have clicked the Edit Site Channels link you will be in the Site Channels section. Here you can edit all the channels for the site you have chosen.
You need to fill out the add new channels form as shown below.(Note: you will not have the top part that lists Site Channels until you add one.)
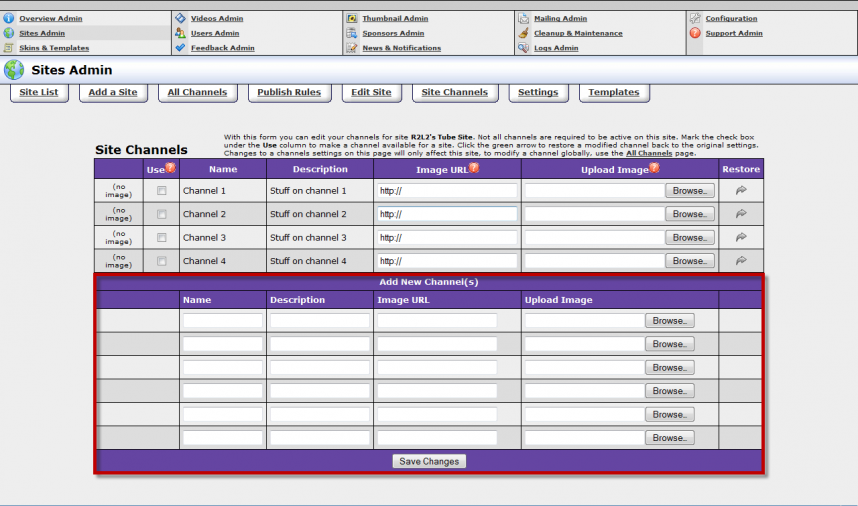
1. Enter a name for your channel.
2. Enter a description for your channel.
3. Enter a location to find a thumbnail for the channel. You can do this two ways:
- a. You can enter a URL location to find the file using the image URL box.
- b. You can choose to browse your local computer using the Upload Image box.
4. Click the Save Changes button.
(Note: If you do not choose an image thumbnail for the channel one will be automatically generated as long as you have videos for that channel.)
Site Registration
It is important to note that only sites with domains registered with TMM to your TubeStudio install will display outside your admin. If a site is registered with TMM it will have a check mark  next to it as shown below:

If this is not the case please register the site with TMM by logging into TMM ID.
Once you have added a channel(s) you are ready to add videos. Please see the Adding Videos article to learn how to add videos to your site.


